When it comes to prepping wood for staining, ensuring a smooth and flawless finish is crucial. Starting with the right sandpaper grit and technique sets the foundation for a successful staining project. But, what about the importance of selecting the proper wood conditioner? And what other tips can elevate your wood staining game? Understanding these nuances can make a significant difference in the final outcome of your project.
Importance of Proper Sanding Techniques
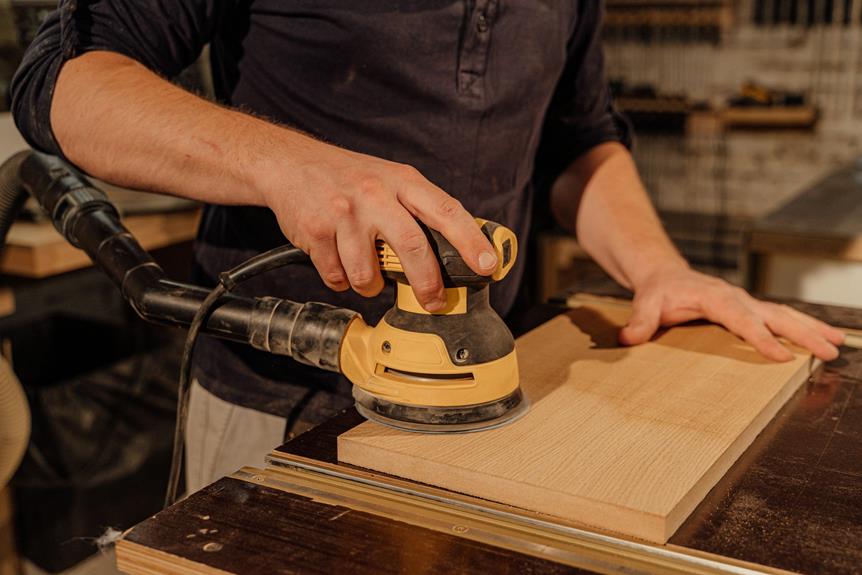
To achieve a smooth and flawless finish when staining wood, mastering proper sanding techniques is crucial. Sanding isn't just about smoothing the surface; it also helps the wood absorb the stain evenly, enhancing the final look. Before diving into the staining process, take the time to sand the wood thoroughly. Begin with a coarse-grit sandpaper to remove any existing finish or imperfections. Then, gradually move to finer grits to achieve a polished surface. Remember to sand in the direction of the wood grain to avoid scratches that may show up after staining.
Proper sanding not only improves the aesthetics but also ensures the longevity of the stain. By removing any rough spots or blemishes, the wood can better absorb the stain, creating a more durable finish. Neglecting proper sanding techniques can result in an uneven stain application and premature wear and tear. So, invest the time and effort into sanding correctly for a professional-looking outcome.
Necessary Tools for Prepping Wood
Ensure you have the essential tools for prepping wood before beginning the sanding process. The necessary tools for prepping wood include a quality orbital sander or sanding block, sandpaper in various grits (such as 80, 120, and 220), a tack cloth for removing dust, wood filler for any imperfections, a putty knife for applying filler, a vacuum or shop vac for cleanup, and safety gear like goggles, a dust mask, and gloves. Additionally, having a clean, flat work surface and good lighting is crucial for a successful wood prepping process.
Using the appropriate tools will help you achieve a smooth and even surface, ensuring that the wood is ready for staining. Before starting, make sure all your tools are in good working condition and that you have enough sandpaper for the job. Having these tools on hand will make the wood prepping process more efficient and effective, ultimately leading to a beautifully stained wood finish.
Steps to Sand Wood for Staining
For a smooth and flawless finish when staining wood, start by thoroughly sanding the surface using progressively finer grits of sandpaper. Begin with a coarse grit, around 80-100, to remove any rough spots, old finishes, or blemishes on the wood. Sand in the direction of the grain, applying even pressure to ensure an even finish.
Once the surface is smooth to the touch, switch to a medium grit, such as 120-150, to further refine the wood and remove any remaining imperfections.
After sanding with the medium grit, progress to a fine grit like 180-220 to achieve a silky smooth surface that's ready for staining. This final sanding step helps to ensure that the wood absorbs the stain evenly, preventing blotchiness or uneven coloring.
Remember to wipe down the wood with a tack cloth after each sanding step to remove any dust or debris that could affect the finish. Following these steps will prepare your wood surface perfectly for the staining process.
Tips for Prepping Wood Surfaces
Prepare the wood surface by cleaning it thoroughly with a damp cloth to remove any dust or dirt before beginning the staining process. This step is crucial as any debris left on the wood can affect the stain's application and final appearance. After cleaning, allow the wood to dry completely before proceeding.
Inspect the wood for any imperfections such as dents, scratches, or gouges. Fill these areas with wood filler and sand them down once dry to ensure a smooth and even surface for staining.
Consider using a wood conditioner before applying the stain, especially on softwoods like pine, fir, or spruce. This helps the wood absorb the stain more evenly and reduces blotchiness.
If you're working with hardwoods like oak, maple, or cherry, test the stain on a small inconspicuous area to ensure it achieves the desired color before applying it to the entire surface.


